
Keep it clear.
Remove vegetation and debris around the base. Keep drainage clear and let the timber dry naturally.
THE DETAILS THAT LAST
From the first hinge to the last coat of finish. Give your gate the start it deserves.
Explore installation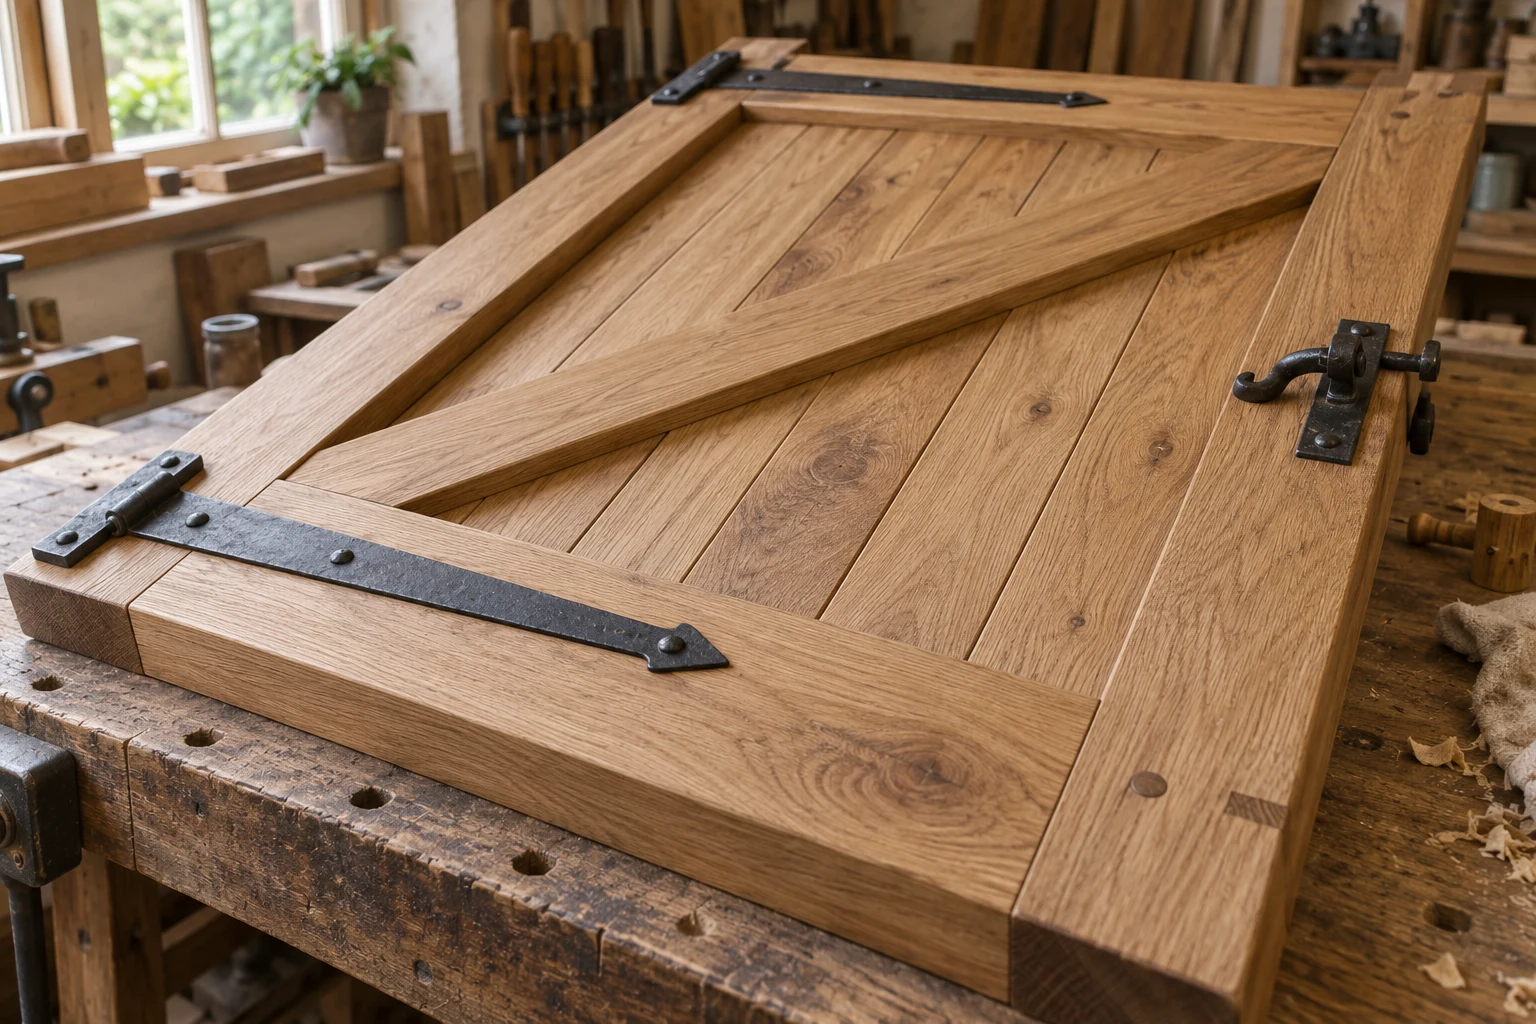 INSTALLATION & CARE
Confirm boundaries, buried services, post condition, ground type, drainage and the gate’s weight. Keep the full swing clear. Heavy, wide, exposed or powered gates need a competent installer and may require an engineered support design.
A burial depth of around 600 mm is used by some manufacturers for certain light garden-gate posts. It is not a universal UK standard or a specification for every installation. Post dimensions, embedment, foundations and concrete must follow the gate/post manufacturer’s instructions and site requirements; larger or exposed gates may require substantially more.
Set posts plumb and correctly spaced, protect cut timber according to the treatment supplier’s instructions, and allow foundations to cure fully before loading them. Do not guess concrete quantities or curing times.
For a conventional timber diagonal working in compression, the brace normally rises from the bottom hinge corner towards the upper latch/free corner. A tension cable or metal tie can work differently. Follow the actual gate’s construction and manufacturer’s hanging instructions; do not reverse a gate simply to change the opening direction.
Use the specified hinge and latch allowances. Check the highest ground point, drainage, stops and opening direction. A gate that clears the ground when shut can still hit it when opened. Fit suitable stops and retainers, and keep pinch and trapping risks in mind.
Use hardware suitable for the gate’s weight and exposure. Inspect fixings, hinges, latches and posts periodically, keep vegetation clear, and follow the timber finish supplier’s maintenance instructions. Natural timber varies in grain, shade and movement; contact us if you are concerned about a defect.
Do not add automation based on this guide. A complete powered system needs a competent specialist, appropriate risk assessment, protective measures, commissioning and applicable compliance documentation.
This is general planning guidance, not a structural design or a substitute for product-specific installation instructions.
02 / KEEP IT LOOKING ITS BEST
Remove vegetation and debris around the base. Keep drainage clear and let the timber dry naturally.
Check posts, hinges and latches periodically and after severe weather. Address movement before it worsens.
Follow the treatment supplier’s cleaning and reapplication instructions for your particular timber and finish.